Unknown to some Windows 7 users, it’s the operating system that stores and manages fonts on a computer, not the individual applications that make use of them.

Still, with each application you install on your computer such as word processors and desktop publishers, more and more fonts accumulate on your PC. It’s entirely possible for you to have so many fonts on your computer that performance starts to suffer.
Installing and deleting fonts in Windows 7 is easy enough, but there is a way you can restore the fonts on your computer to include just those that ship with Windows 7. In this way, you can start over and make your computer operate as it should when you use an application that uses the fonts stored and managed by Windows.
Why Deal with Too Many Fonts?
As stated above, too many fonts can slow down your computer when you use applications such as word processors and spreadsheets that use the fonts managed by Windows 7.
These performance slowdowns can take the form of applications taking a long time to load, making the font drop down menu of an application almost impossible to use, and too much memory being used up by your computer to manage all of those fonts.
There are no hard and fast rules that determine how many fonts is too many; it depends on how many fonts you have installed in Windows 7, how much memory you have in your PC, and the type of processor you have.
Dealing with too many fonts means deleting those that you don’t need. When you do, you will also notice that it is easier to find the font you want because you won’t have to wade through hundreds of fonts.
Restoring Default Fonts in Windows 7
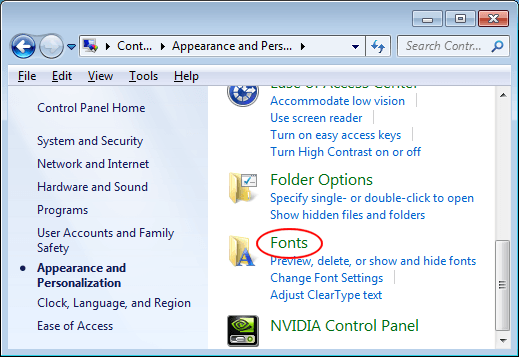
To restore Windows 7 to the default number of fonts, begin by logging into your computer using an account that has administrative privileges. Click on Start>Control Panel. In the Control Panel window, click on Appearance and Personalization and then Fonts.
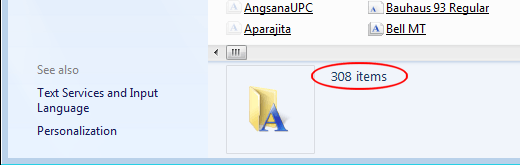
You should now be looking at the Fonts Control Panel. Notice that each of the fonts installed on your PC are listed here. To see how many fonts you have installed in Windows 7, look at the bottom of the window. This is where Windows 7 reports how many fonts are installed on your PC.
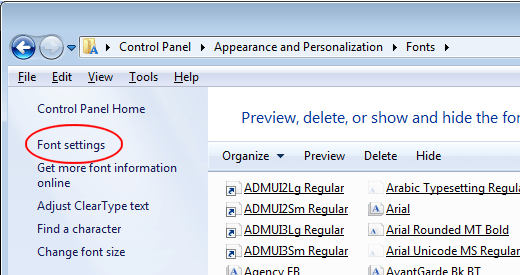
To reset the fonts on your computer to only the ones that shipped with Windows 7, click on the link on the left hand side of the window titled Font Settings.
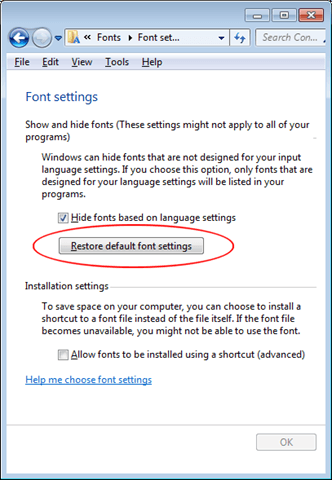
In the Font Settings section of the window, click on the button titled Restore Default Font Settings and follow the onscreen directions. When done, only the fonts that shipped with Windows 7 will show up in the list of fonts you have on your PC.
As stated above, there is no universal number of fonts that can be installed on a PC before they start to slow down your computer and applications. However, on a moderately powerful computer with about 2GB of RAM, you’ll start to experience problems at around 1,000 to 1,200 installed fonts.
Of course, you can also delete the fonts you don’t want on your computer one by one. Before you do this, however, you should back up all your fonts to a separate location in case you delete a font and realize later that you want it back in the list of available fonts in your applications.
In fact, periodically backing up your fonts is a good way to ensure that you don’t have to go hunting for a font you want but deleted earlier.
0 nhận xét:
Post a Comment